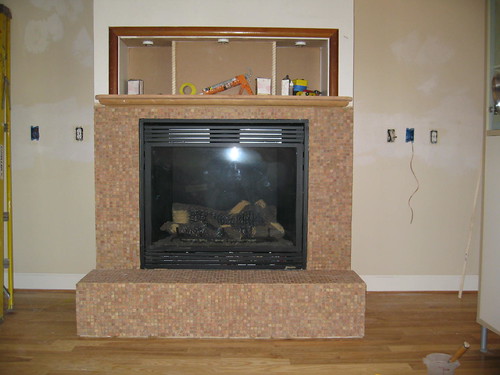
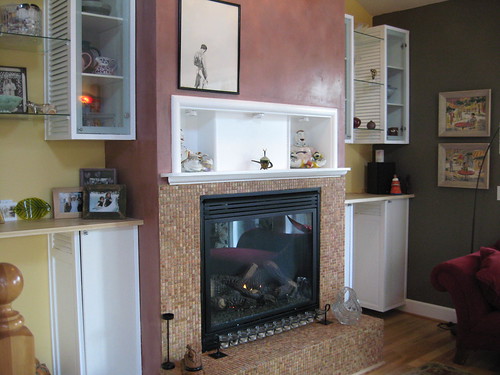
(Butterscotch brownies from the book "My Sweet Vegan", baking away)
I guess by now, everyone knows how much I love my kitchen toys. I don't think it's quite at the point of needing an intervention, but I do love a fun kitchen toy or appliance. Just to set the record straight, I do have some pretty tough criteria. First of all, it needs to function really well and take the place of another tool/appliance, because let's face it, I have a pretty small kitchen. Real estate is at a premium here, and, I have a "deal" with my husband that as one tool arrives, another must go. Sometimes this works better in theory, but I really try to stick to the plan. And in case you're wondering where the previous "tenants" go, that is usually straight to my brother or mother's kitchen (my brother is a chef too). In my family, kitchen toys become a game of musical toys.
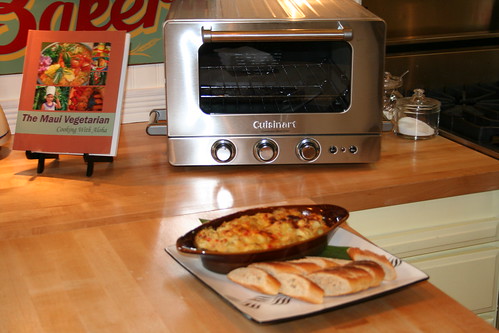
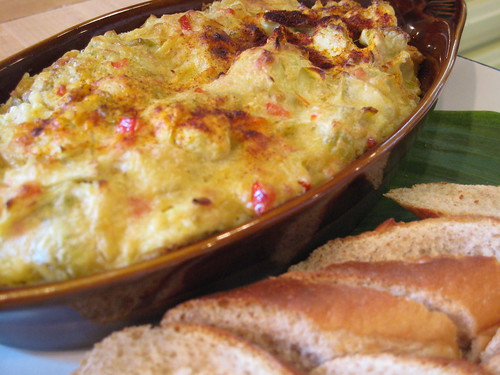
(The oven with freshly baked vegan hot artichoke dip. The oven did an amazing job baking it)
As well as enjoying playing with the new toys, I think it's important to offer feedback on these products, sharing how they hold up to a lot of wear and tear in a busy kitchen. Believe me, not everything makes that cut. I will try to give everyone feedback on products that I am really enjoying and think are worthwhile or could be a good addition to someone's kitchen.
Another reason for some of my counter top appliances is that I do a lot of cooking segments on television (I am the "entertaining editor" for a morning show called Better), and there isn't a kitchen set-up -just a table and an extension cord. I need to be able to bring these appliances with me, so that I can actually cook on set. In other words, my "toys" are also part of my lively hood. Anyways, on to a few new favorites.
The first is the
Cuisinart Brick Oven. This is a counter top oven which really performs. I first heard rave reviews about it from
Bryanna Clark Grogan. She was having an awful time baking bread and pizzas in her new oven, unable to get it hot enough to blister the crust. This began to pique my interest, because how cool would it be to use a counter top oven that not only baked extremely well, but actually saved the energy of turning on a large gas or electric oven/range.
As an added bonus, the oven is really well designed and beautiful too. In addition to standard and convection baking and broiling, it also toasts. Plus, the oven has built in brick/stones on the sides of the oven, as well as a removable one for baking directly on.
I have been having so much fun with this oven. It bakes extremely well and I was blown away with the results, whether cakes, cookies, bread or roasting or broiling. It's fairly large, which is nice because I can easily fit pie plates and brownie pans in it. I have it tucked into a corner of my kitchen. I give this oven 2 big thumbs up. If you have a sketchy oven or are just looking for a great counter top oven, check out the Cuisinart Brick Oven.
The next toy that I want to share is
The Garlic Twist. This gadget was also recommended to me, and it did not disappoint. I use a ton of garlic in my cooking, so anytime I can mince it quickly it's appreciated. I know I could use a knife, but this gadget is awesome. I can do about 4 peeled cloves at a time with a quick couple twists of the wrist. Another benefit is that you can smash the garlic and store it temporarily in the container. This is an added benefit, because in order to get all of the healthy benefits from cooked garlic, it needs to sit for 10 minutes after mincing/pressing/smashing before being cooked. No problem with the Garlic Twist. It also smash/minces the garlic, which I think releases more flavor and oil than by simply chopping it.
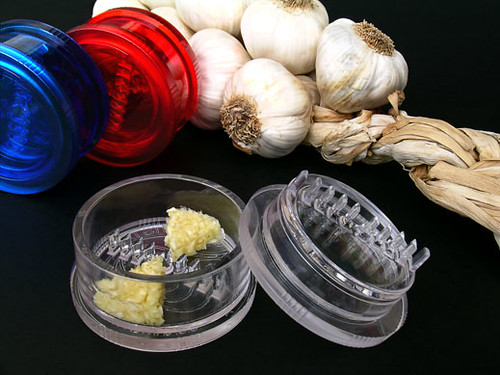
(The Garlic Twist. I didn't take this pic, but rather borrowed it from their website. Our dark gloomy weather today wasn't too conducive to photography)
Another great item I've discovered recently is the new
Zyliss Smart Touch salad spinner. It makes quick work of washing lettuce, greens and herbs, spinning them dry with ease. Obviously I wash a lot of greens, so this is a great time saver. My old spinner was tiny and you pulled a cord to spin the veggies dry. Well I had used it so much that the cord had cut a nifty rut into the side of the spinner. It seemed like an appropriate time to retire it and try something new and more efficient. Instead of a cord for this new spinner, there's a flat paddle on the top that you place your hand on, effortlessly pressing up and down. It's almost meditative. Suddenly my kids are volunteering to make salads. This can't be a bad thing, right? We all need to eat more greens, so why not make the task easier, and do it with a bit of flair? I am loving this stylin' new spinner.
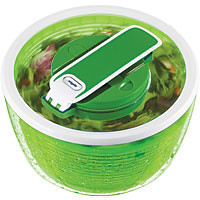
(I didn't take this photo either. It's courtesy of the Zyliss website. Darn gloomy weather)
I don't sell any of these items, but have truly enjoyed using them. I'm sure that they can be found online with a quick Google search, or your local kitchen store. It's fun for me to share and pass my thoughts on to other kitchen enthusiasts.
I hope everyone has a great weekend!
 A few people have asked me about my cooking segments on the morning show "Better", so I thought that I would explain further. I do the cooking segments once or twice a month, and get to cook a variety of easy and delicious recipes. As of last month I am now officially the "Entertaining Editor", which means that I get a nifty title on the screen when I do the segments.
 Filled with chocolate and nut butter
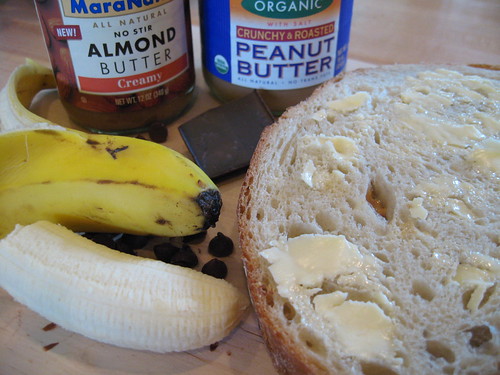 Ready to grill